

Concrete Pool Installation Toronto: Costs, Custom Designs and Installation Services
Concrete pool installation in Toronto typically costs between $75,000 and $150,000+ for a standard residential build. Complex designs, premium finishes, integrated spas, and extensive backyard builds regularly push well past that. Concrete is the most expensive inground pool type to build — and the most capable.
Every concrete pool is built on site from scratch. There are no shell sizes to choose from, no panel systems with fixed dimensions. The pool is exactly the shape, size, depth, and configuration the design specifies. That’s why homeowners who want a custom layout, a specific feature that doesn’t exist in a fibreglass shell, or a premium finish choose concrete.
Easy Pools installs concrete pools across Toronto and the GTA, managing design, permits, excavation, construction, and finishing as a complete project.

Costs
Concrete Pool Costs in Toronto
Concrete pool pricing in Toronto is highly project-specific — more so than fibreglass or vinyl, because every element is custom. The figures below are honest working ranges, not minimums dressed up as averages.
Cost Component | Typical Range |
Excavation | $6,000 – $15,000 |
Rebar framework | $8,000 – $20,000 |
Gunite or shotcrete application | $10,000 – $25,000 |
Plumbing and equipment | $10,000 – $22,000 |
Electrical | $3,000 – $6,000 |
Interior finish (plaster/pebble/tile) | $8,000 – $30,000+ |
Coping | $5,000 – $20,000 |
Decking | $8,000 – $30,000+ |
Permit fees | $500 – $2,000 |
Total installed (typical range) | $75,000 – $150,000+ |
Large pools, complex shapes, premium tile finishes, integrated spas, and extensive decking all push projects well above the upper end of this range. A fully custom concrete pool with a vanishing edge, integrated spa, premium stone coping, and full backyard design is a $200,000–$400,000+ project.
What drives cost up
Size. More excavation volume, more rebar, more concrete, larger liner surface to finish. A 4 m x 8 m pool and a 6 m x 14 m pool are fundamentally different projects in scope and cost.
Shape complexity. Freeform pools, L-shapes with exact dimensions, curved walls, and irregular footprints all require more formwork, more rebar bending, and more skilled finishing labour than a rectangle.
Depth. Deeper pools — particularly deep-end configurations beyond 1.8 m — require more excavation, more structural concrete, and more care with drainage. High water table sites add sump and drainage cost on top.
Interior finish. Standard white plaster is the baseline. Quartz aggregate finishes cost more and last longer. Full glass tile or mosaic interiors can add $20,000–$60,000 to the project over plaster. Pebble finishes sit between plaster and tile.
Integrated features. A spa built into the pool shell, a raised bond beam, a vanishing edge, a beach entry — all require additional concrete, additional plumbing, and significantly more design and construction time.
Coping and decking material. Poured concrete is the baseline. Travertine, limestone, bluestone, or large-format porcelain coping and decking adds substantially to the finishing cost.
Timeline. Concrete pools take 3–6 months to build. That’s longer than fibreglass or vinyl, which affects scheduling, cash flow, and in some cases permit timing relative to the target swim season.
What keeps costs lower
- Rectangle or simple geometric shape rather than freeform
- Plaster or quartz aggregate interior rather than full tile
- Concrete coping and deck rather than natural stone
- Standard depth profile (no deep end beyond 2.0 m) on sites without water table complications
- Deferring add-ons — spa, water features, automation — to a later renovation
Easy Pools
How Concrete Pools Are Built: Gunite vs Shotcrete
All concrete pools are built using a sprayed concrete method — either gunite or shotcrete. Both produce the same end result. The difference is in how the concrete is prepared before it leaves the nozzle.
Gunite mixes dry concrete with water at the nozzle during spraying. The operator has more control over the water-to-concrete ratio in real time, which experienced crews use to their advantage on complex shapes.
Shotcrete is pre-mixed concrete (wet mix) that is pumped through a hose and sprayed. More consistent mix from the start, less skill-dependent at the nozzle stage, and very widely used in residential concrete pool construction in Ontario.
Both methods produce dense, durable concrete when applied correctly by an experienced crew. The quality of the rebar framework, the thickness of the concrete application, and the curing time are more important to long-term structural integrity than which spraying method is used.
Design Options
Custom Design Options
Custom design is the reason to choose concrete. The sections below cover the main design decisions for a concrete pool project — each one is a genuine choice that doesn’t exist in fibreglass or vinyl.
Shape
Any shape is buildable in concrete. Common design directions:
Rectangle — The most popular choice even in concrete, because clean geometry integrates well with most backyard designs, suits all uses, and is the most efficient shape for a given pool volume. A concrete rectangle is chosen when the homeowner wants a specific size that no fibreglass shell offers, a specific depth configuration, or premium finishes not available on a pre-manufactured shell.
L-shape — A deeper swimming section connected to a shallower play or lounging area. Often used where the yard layout calls for a long pool footprint but a second function at the shallow end — integrated spa, children’s section, tanning shelf.
Kidney and freeform — Organic curves that suit informal, naturalistic backyard designs. Pair well with natural stone coping, planted surrounds, and water features. More labour-intensive to form and finish than geometric shapes.
Geometric custom — Pools designed specifically to the lot — an unusual angle to maximise usable deck space on a non-rectangular yard, a shape that wraps around existing trees or structures, or a layout that follows a specific backyard programme.
With raised bond beam — The pool wall extends above grade on one or more sides, creating a raised visual element. Often used on sloped sites or as a design feature. Requires additional structural concrete above the waterline.
Size and depth
Size in concrete is entirely project-specific. Common residential ranges run from 4 m x 8 m to 6 m x 14 m, but nothing is fixed. The practical constraints are property setbacks, equipment access during construction, and the available budget.
Depth configurations:
Profile | Description | Best For |
Uniform | Consistent depth throughout (typically 1.4 m–1.5 m) | Family pools, exercise pools |
Shallow-to-deep | Gradual slope from 0.9 m to 1.8 m–2.0 m | Standard residential, mixed use |
Deep end | Dedicated deep section (2.0 m–2.4 m+) | Adult swimming, diving (where permitted) |
Wading shelf + deep | Very shallow entry area transitioning to full depth | Young children, lounging + swimming |
Diving configurations in concrete require a minimum deep end of 2.4 m. These are increasingly uncommon in residential Toronto builds due to liability insurance requirements — discuss at the design stage.
Entry styles
Corner steps — The most common entry, built into one corner of the shallow end. Compact, efficient use of pool footprint.
Full-width entry steps — Steps that span the entire width of the shallow end. Welcoming, easier for children and older adults, reduces usable swim length slightly.
Beach entry (zero entry) — A gradual slope from deck level to pool depth, with no steps. Requires a larger pool footprint to maintain practical swim depth, and a separate dedicated drainage channel at the pool edge. Distinctive look; practical for families with young children and for accessibility.
Tanning ledge (baja shelf) — A very shallow platform (typically 20–30 cm deep) set into the shallow end. Large enough for a pair of sun loungers and a small child to play safely. One of the most requested concrete pool features in Toronto in recent years. Adds to the pool footprint but is highly usable.
Integrated spa
A spa built directly into the pool structure — sharing the pool’s plumbing, filtration, and heating equipment — is one of the most common upgrades on concrete pool projects. Options:
Attached spillover spa — The spa sits adjacent to the pool at a raised elevation. Water spills from the spa down into the pool. Creates a water feature effect and means the spa is in constant view from the pool. Requires its own dedicated heater or the ability to divert the main heater output.
Inset spa — The spa is built into one corner or end of the pool at the same level. More integrated visually; the spa water mixes with the pool water rather than flowing separately.
Detached spa — A separate structure placed adjacent to the pool with independent plumbing and heating. More expensive and more complex, but allows the spa to run at a different temperature than the pool independently.
Integrated spas add $15,000–$45,000 to a concrete pool project depending on size, configuration, and equipment.
Vanishing edge (infinity edge)
A vanishing edge pool has one or more sides where the water surface meets the pool edge and appears to disappear — the water flows over a weir into a catch basin below, is pumped back into the pool, and the visual effect from the right vantage point is that the pool extends to the horizon or blends into a landscape view.
Requirements for a vanishing edge in Toronto:
- A meaningful grade change or elevated pool position — the visual effect requires the viewer to be at or above pool deck level looking toward the vanishing edge, with a view below
- A catch basin below the overflow edge (adds excavation and concrete cost)
- A dedicated return pump for the catch basin (additional equipment)
- Careful sightline planning during design — the effect doesn’t work on a flat lot without deliberate grading
Vanishing edges add $20,000–$50,000+ to a concrete pool project, depending on the length of the overflow edge and the complexity of the catch basin.
Water features
Concrete pools accommodate the full range of water features, and the structural plumbing for all of them is embedded in the pool shell during construction — adding them after the fact is expensive and disruptive.
Raised waterfall — A concrete or stone feature behind or beside the pool that delivers a curtain or stream of water. Usually built as part of the same concrete pour. Ranges from a simple weir wall to a full rock waterfall structure with landscaping.
Deck jets — Stainless steel or bronze fittings set into the pool deck that arc water in a precise parabolic stream into the pool. Clean, contemporary, low cost relative to a waterfall. Very popular on rectangular modern designs.
Bubblers — Fittings in the tanning ledge or shallow area that push a column of water upward. Creates the sensation of a gentle spring; popular in tanning ledge areas for children.
Spillover — Water flows from a raised spa or raised wall section into the pool below. Both aesthetic and functional — the movement helps with circulation.
Interior finishes
The interior surface of a concrete pool is what you see through the water and what you touch. It’s applied after the shell cures and can be resurfaced in future without replacing the pool structure.
White plaster (Marbelite) The baseline interior finish. A mix of white cement and marble dust, applied by hand and trowelled smooth. Least expensive option. Gives the pool a classic bright blue-white appearance. Lifespan typically 7–12 years before resurfacing is needed. More porous than aggregate finishes — requires more diligent water chemistry management.
Quartz aggregate White cement base blended with coloured quartz granules. More durable than plain plaster, better stain resistance, longer lifespan (12–18 years), and available in a wider range of tones — from near-white to grey to earth tones that read as green or teal in the water. The standard step up from plaster on most mid-range concrete projects.
Pebble finish (pebblecrete / exposed aggregate) Small smooth pebbles or stones embedded in the plaster surface and exposed by washing before the mix sets. Very durable, highly textured, slip-resistant, and long-lasting (15–25 years). Texture underfoot is coarser than plaster or quartz — a point of preference. Excellent stain and chemical resistance.
Glass tile Full or partial glass tile interiors are the premium concrete pool finish. Available in virtually any colour and pattern. Individual tiles laid by hand — very labour-intensive. Extremely durable, no resurfacing required in the normal sense, and visually distinctive. Adds $20,000–$60,000 over plaster on a full interior. Commonly used as a waterline accent band on plaster or aggregate pools even when a full tile interior is not in the budget.
Ceramic and porcelain tile Similar installation to glass tile. Generally lower cost per square metre than glass, with a wider range of design options. Less refractive than glass in water, which changes the visual effect.
Coping options
Coping Material | Characteristics |
Concrete (formed or poured) | Most economical, can be stamped or coloured, durable |
Brick | Traditional appearance, common on older Toronto pools, moderate cost |
Natural limestone | Classic, cool underfoot in summer, ages naturally, premium cost |
Travertine | Popular contemporary choice, naturally porous (requires sealing), warm tone |
Bluestone | Dark grey-blue tone, very durable, clean contemporary look |
Porcelain | Very low maintenance, consistent appearance, excellent durability, contemporary |
Granite | Dense, very durable, available in many colours, premium cost |
The coping material should be chosen alongside the interior finish and deck material — these three surfaces are what the eye sees in totality when looking at the finished pool.
Work Process
Concrete Pool Installation Process
Concrete pools are the most involved build in terms of on-site construction time, skilled trades, and inspection milestones. The process below reflects a standard Toronto residential concrete pool.
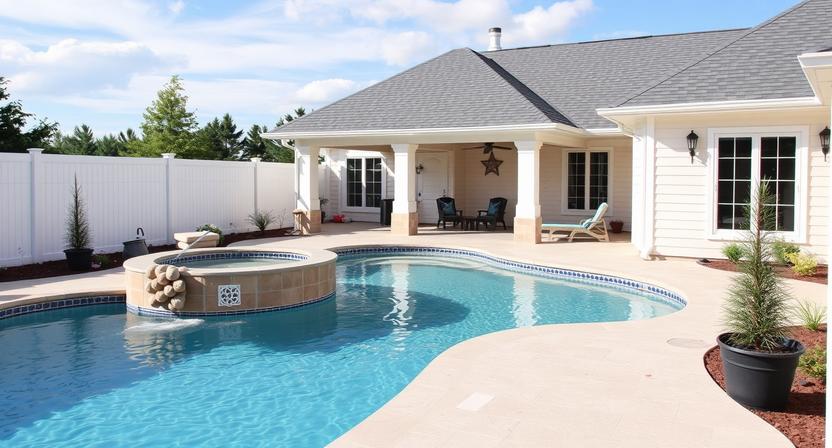
1. Design and engineering
Concrete pools above a certain size or complexity may require structural drawings from a licensed engineer. The design phase establishes pool dimensions, depth profile, structural details, feature layout, plumbing runs, and equipment specification. This informs the permit application.
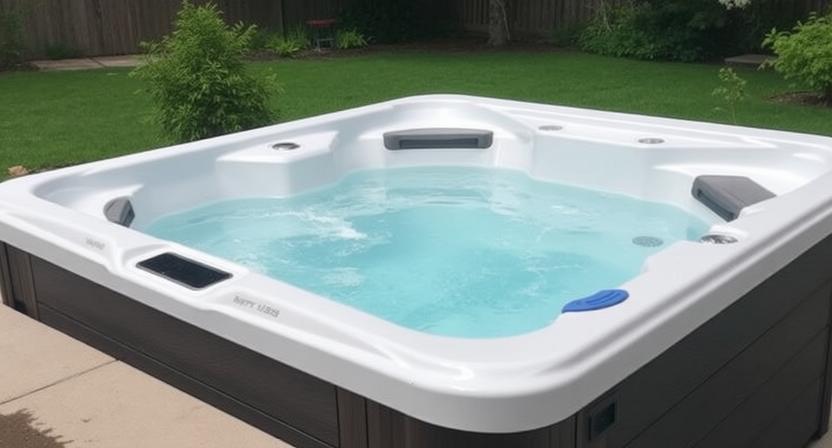
2. Permit applications
We submit the Zoning Certificate and Pool Fence Enclosure Permit applications to the City of Toronto. Allow 4–10 weeks for approval. Construction cannot begin without approved permits.
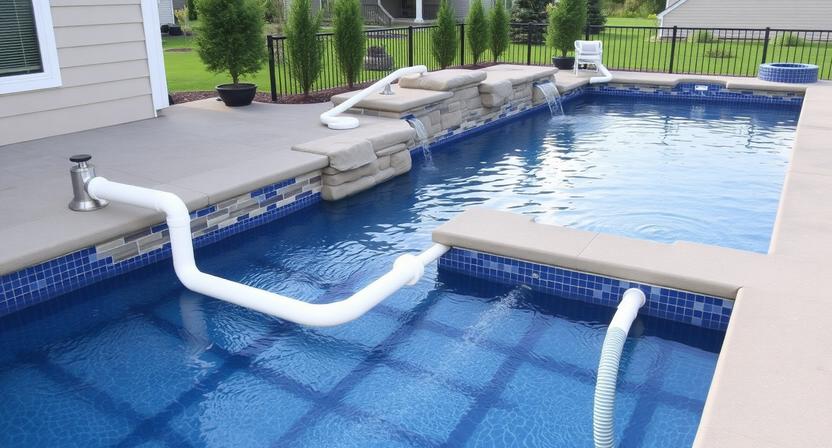
3. Utility locates
Ontario One Call locates all buried utilities before excavation. No exceptions.
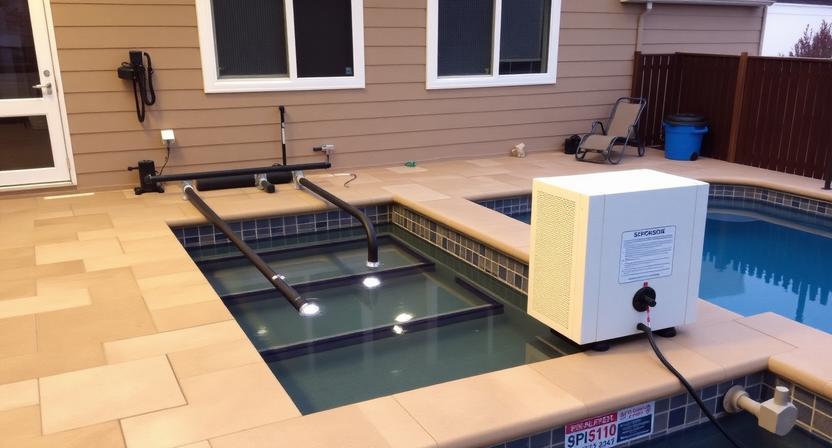
4. Excavation
Excavation for a concrete pool is typically larger than for fibreglass or vinyl — additional room is needed on all sides for the rebar framework and formwork. Most residential concrete pool excavations take 2–4 days. Soil is removed from site.
On sloped lots or sites with drainage challenges, this phase includes grading, retaining wall preparation, and drainage system planning.
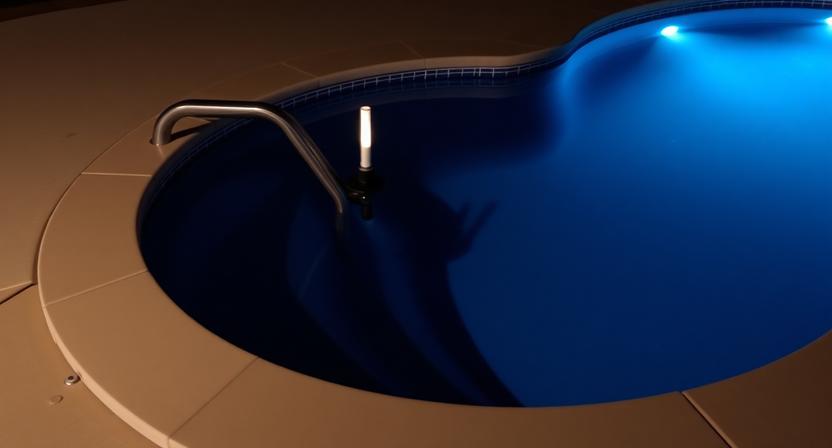
5. Rebar framework
Steel reinforcing bar (rebar) is bent and tied into a continuous cage that follows the exact shape of the pool — floor, walls, steps, benches, and any integrated features. Rebar is typically 10 mm or 12 mm diameter, spaced 200–300 mm apart in a grid. The quality and density of the rebar grid determines the structural strength of the finished pool. This phase takes 3–7 days on a typical residential pool.
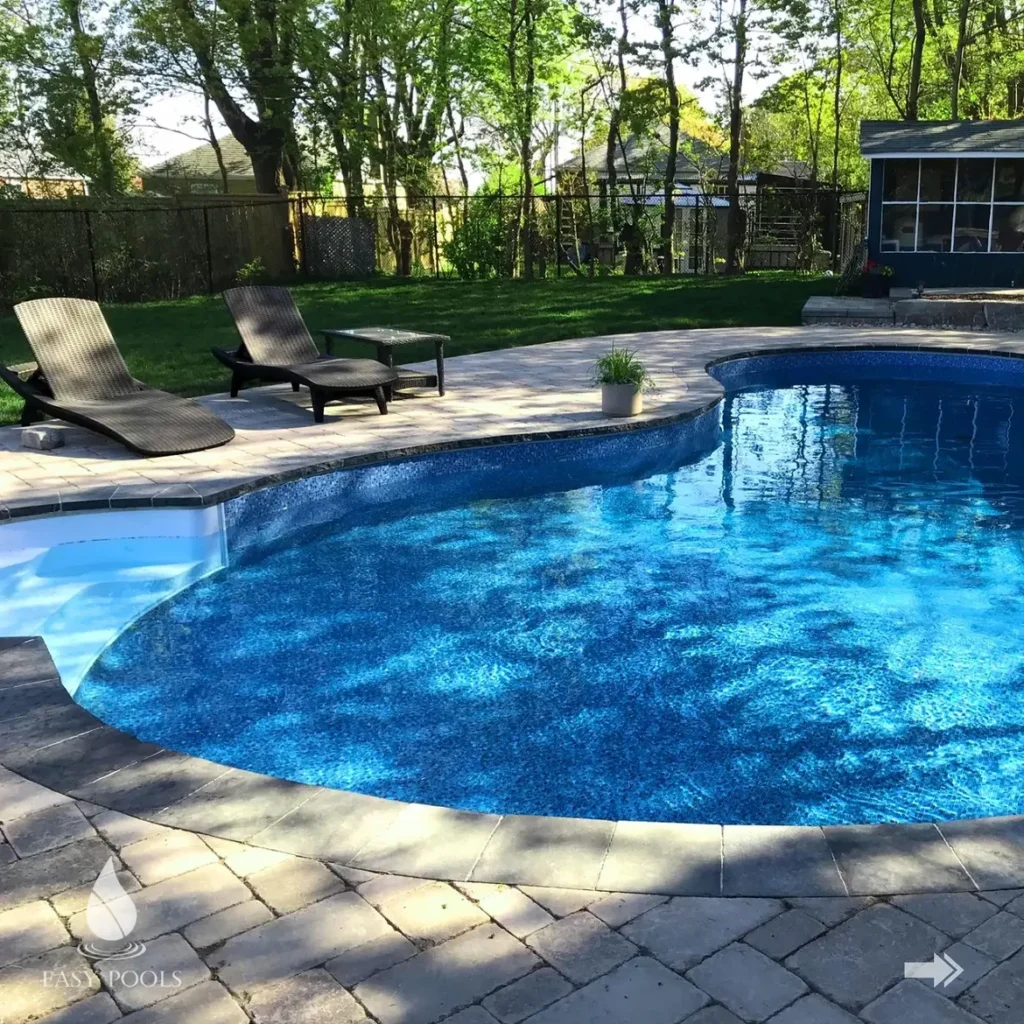
6. Plumbing roughed in
All plumbing penetrations — main drains, return fittings, skimmers, water feature plumbing, light niches — are installed through or alongside the rebar before the concrete is sprayed. Moving any of these after the concrete is in place is extremely disruptive and expensive.
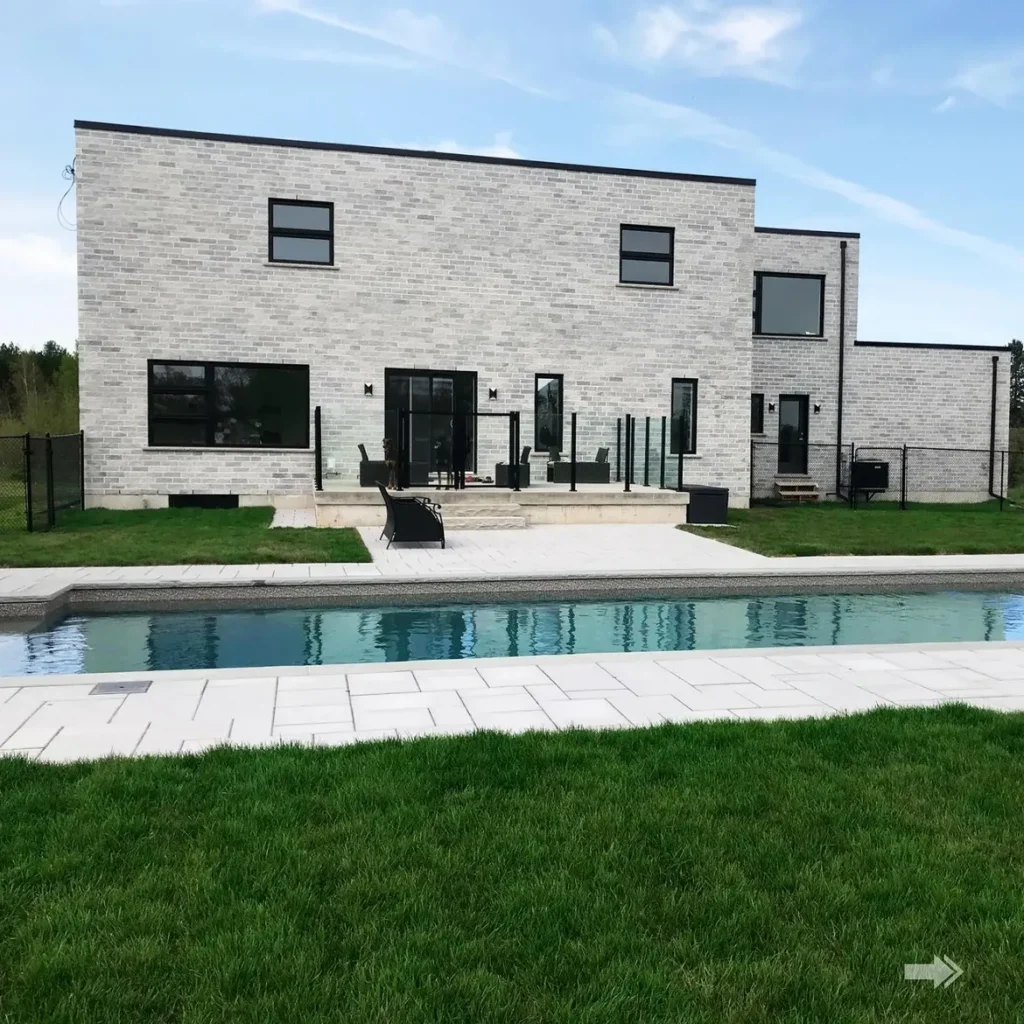
7. Gunite or shotcrete application
Concrete is sprayed over the rebar framework in one continuous operation, building the shell to a minimum thickness of 200–250 mm. Spraying is done by a trained crew; the nozzle operator controls the thickness and density of each section. The shell is built from the floor up, then the walls, then any raised or vertical features.
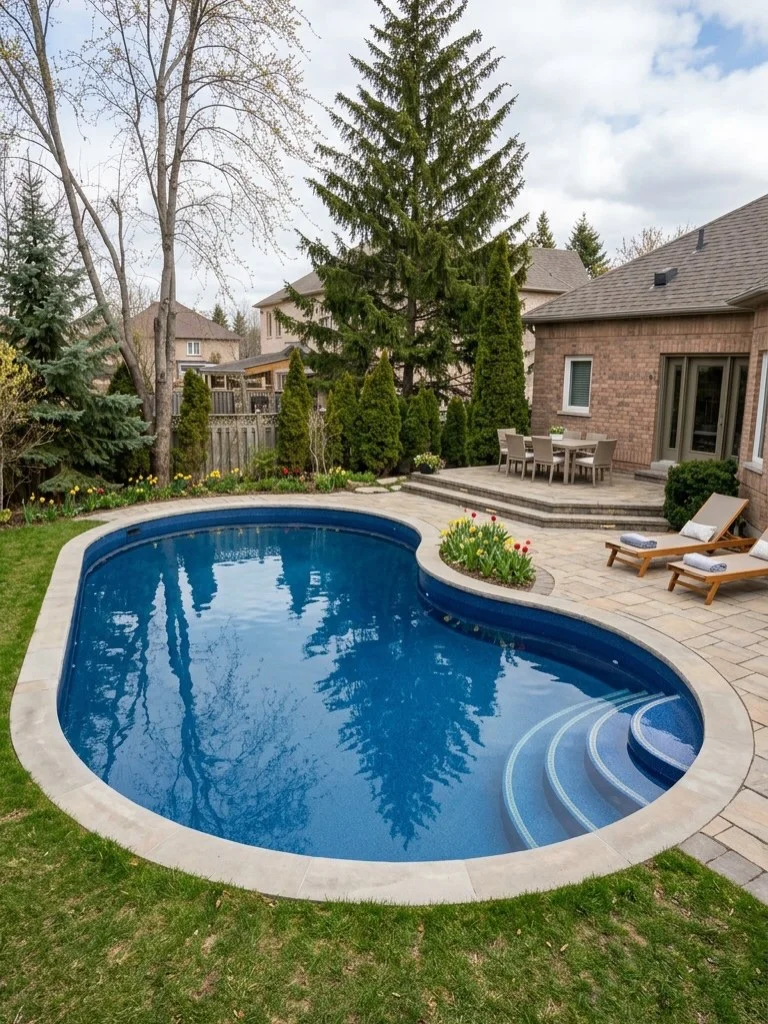
8. Curing
The sprayed shell must cure properly before any further work proceeds. Concrete reaches sufficient strength for the next stage in approximately 7–14 days. During curing, the shell is kept damp to prevent cracking from rapid moisture loss. Premature loading or finishing work during this period can compromise the structure.
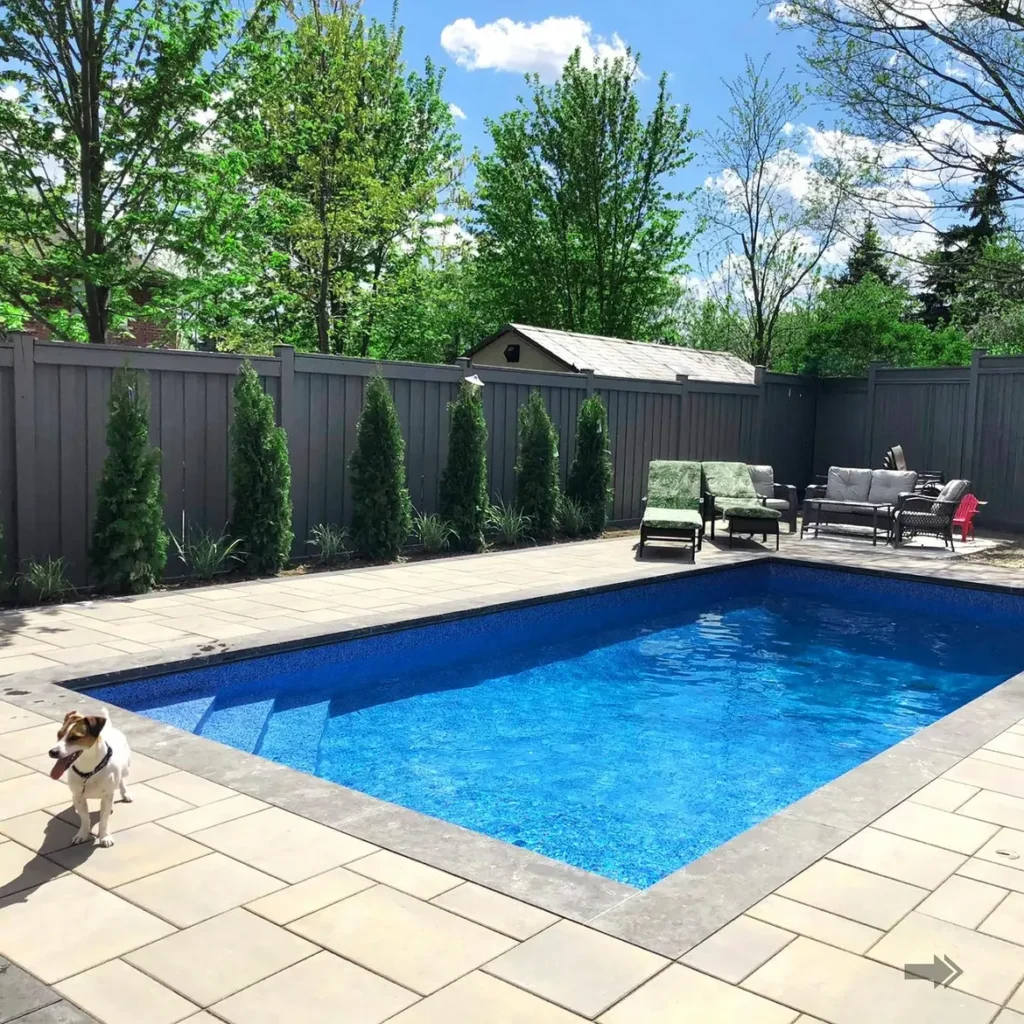
9. Plumbing and equipment installation
After the shell has cured, equipment — pump, filter, heater, automation — is installed on the equipment pad and connected to the plumbing roughed in before the spray.
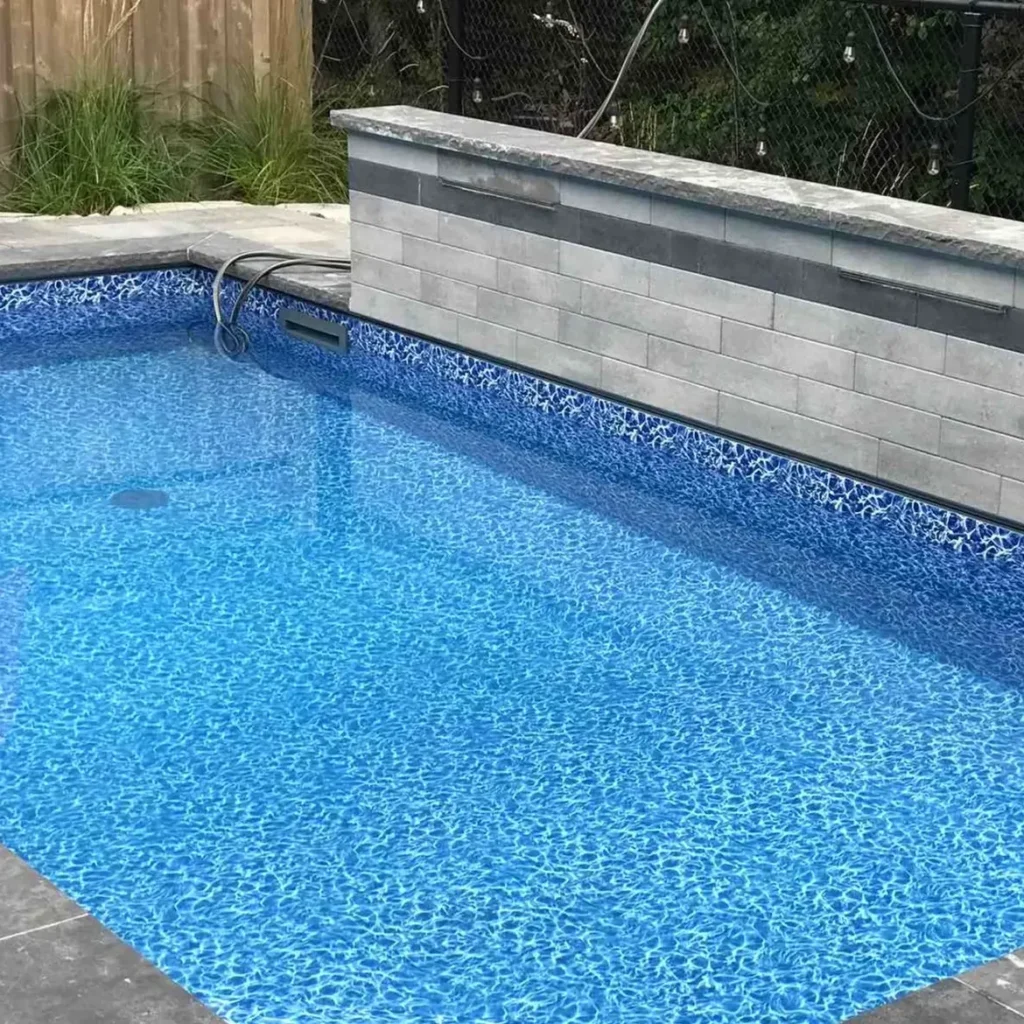
10. Electrical
A licensed electrician connects all pool equipment, lights, and automation under an ESA permit. All pool electrical in Ontario is inspected.
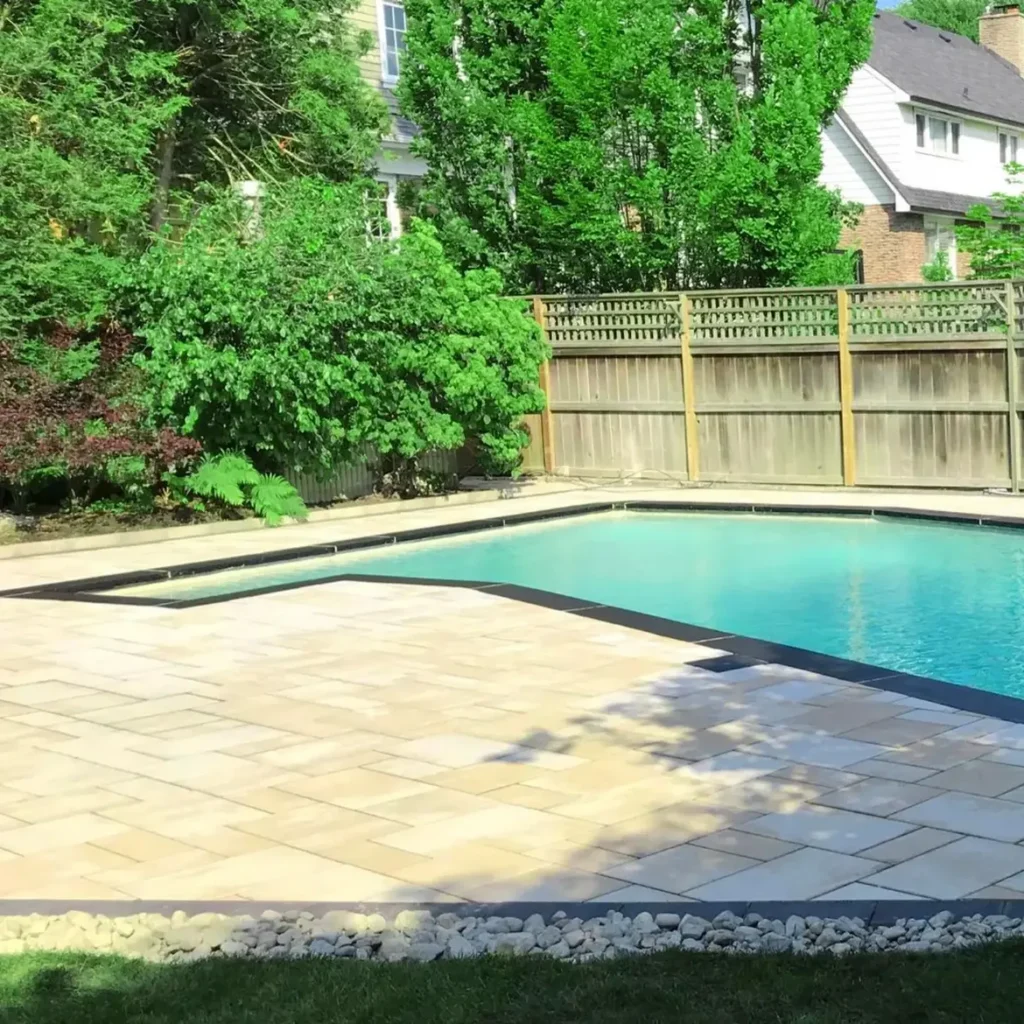
11. Interior finish application
The interior surface — plaster, quartz, pebble, or tile — is applied by a specialist finishing crew. Plaster and aggregate finishes are applied in one continuous pour and must be done entirely in a single session to avoid visible joints. Tile work is done piece by piece over several days or weeks for a full interior.
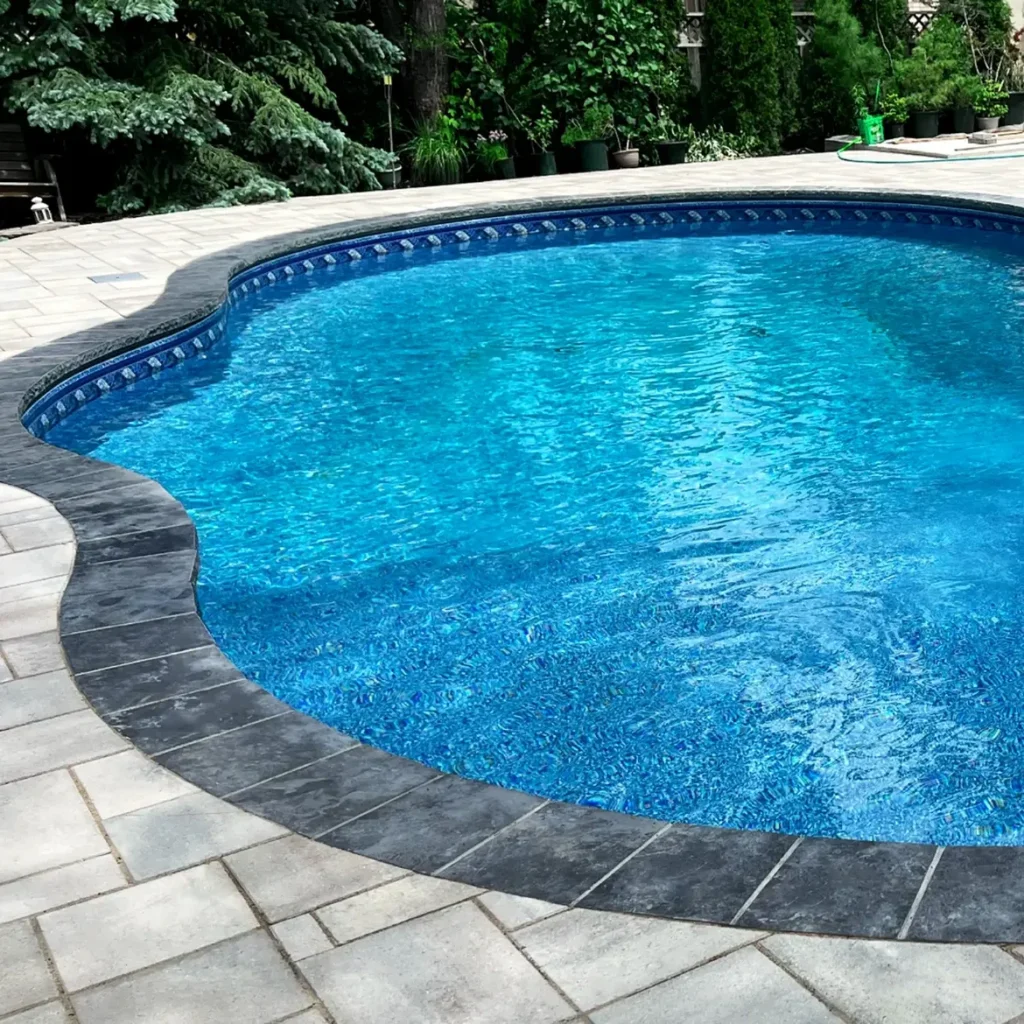
12. Coping and decking
Coping is set around the pool edge, then decking is poured or laid. This phase also includes any integrated planters, steps to the house, or raised feature walls around the pool area.
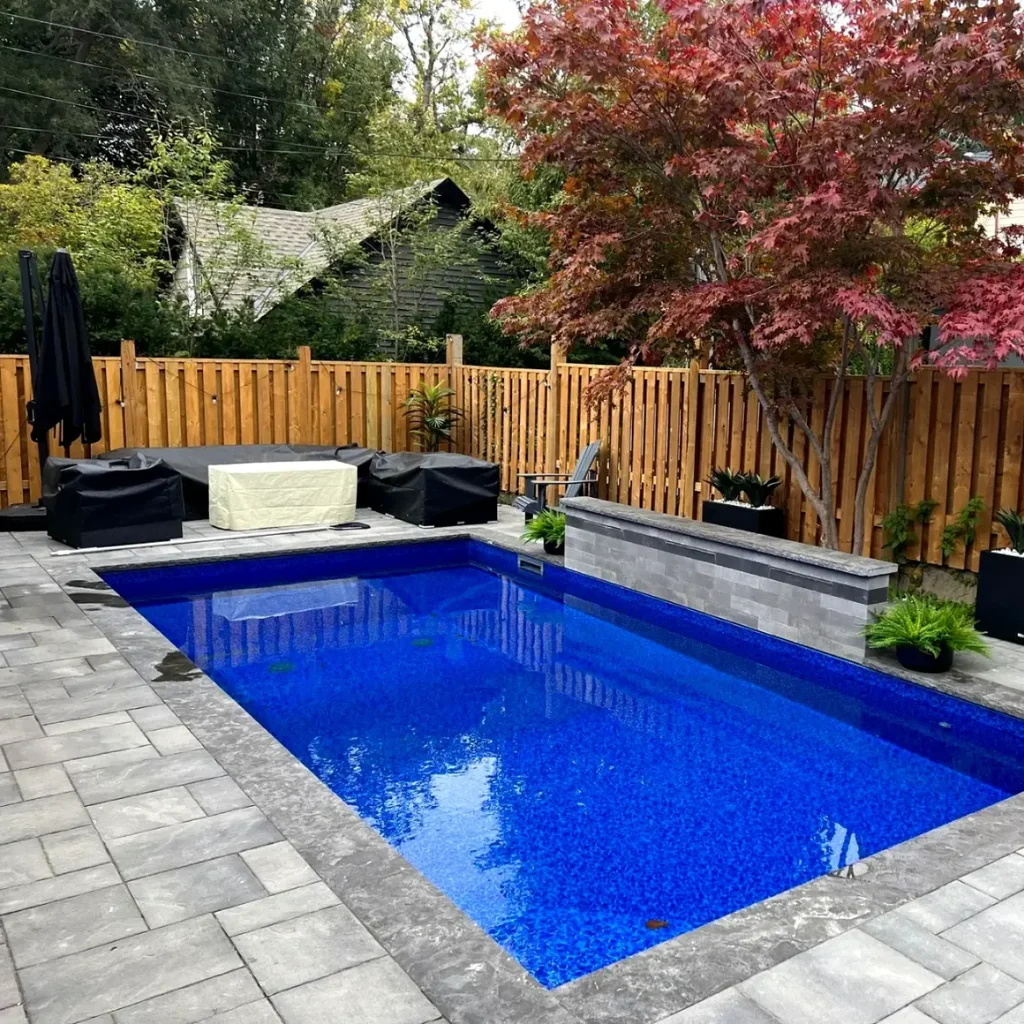
13. Fence installation
Compliant pool enclosure fence installed per Municipal Code Chapter 447 before the pool can be filled for use.
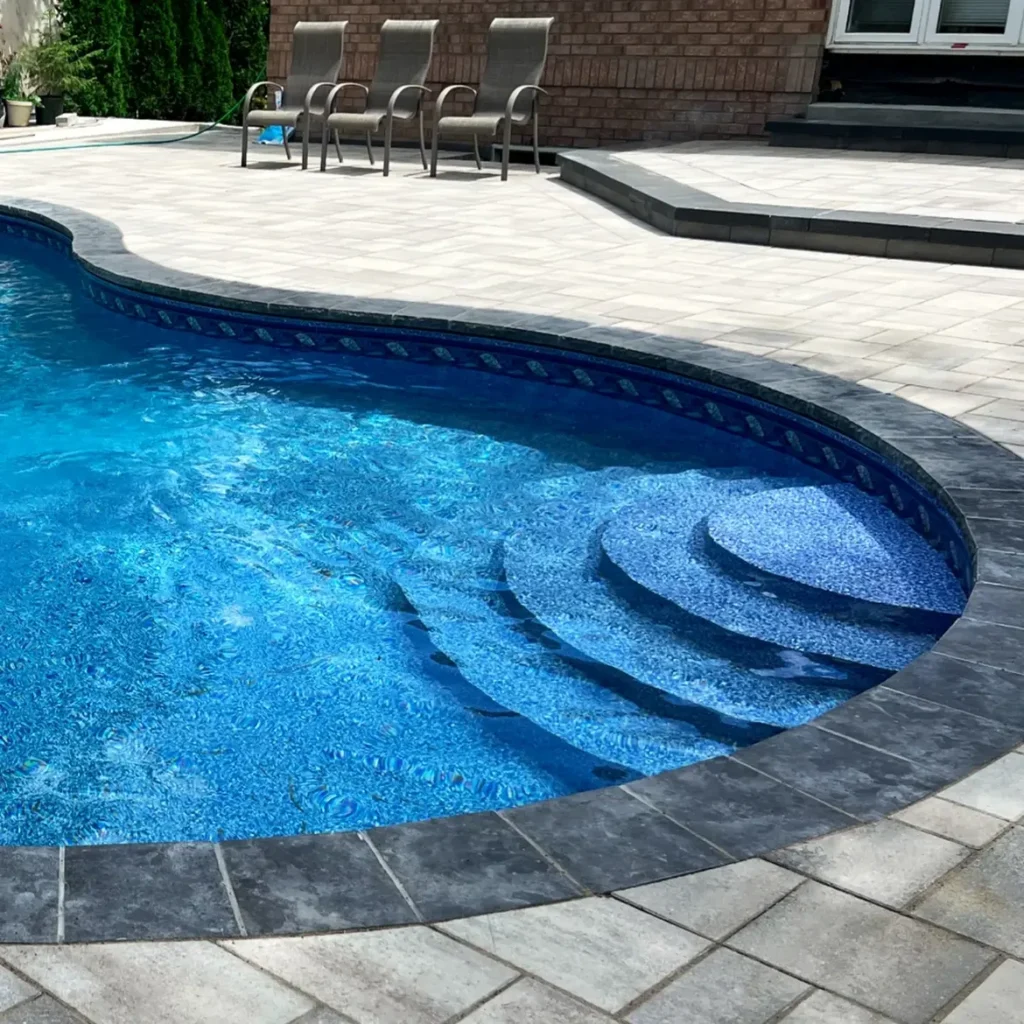
14. City inspection and fill
City inspects the enclosure. Once cleared, the pool is filled — a large concrete pool can take 12–36 hours to fill from a residential water supply. Interior finish is stabilised (plaster pools require a brushing protocol during initial fill to prevent staining). Water chemistry is balanced.
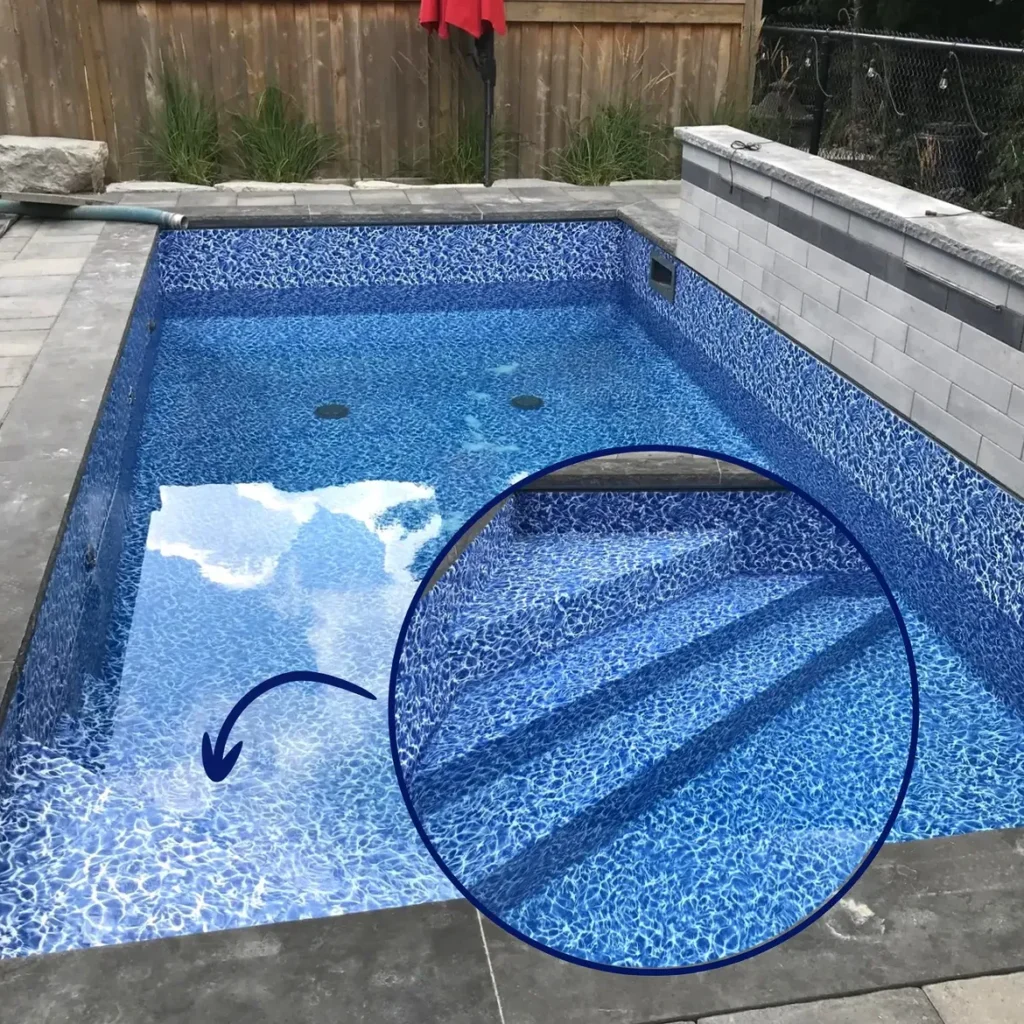
15. Owner walkthrough
Equipment operation, maintenance schedule, resurfacing timeline, warranty documentation, and seasonal care all covered before handover.
Total build time: 3–6 months from excavation to water. The full timeline including permit waiting is typically 5–8 months from signing to swimming — plan accordingly.
Pool Maintenance
Concrete Pool Maintenance
Concrete pools require more maintenance than fibreglass or vinyl. This is a known trade-off — the flexibility and finish options of concrete come with higher ongoing upkeep.
Weekly during the swim season:
- Test and adjust pH, chlorine, total alkalinity
- Brush all interior walls and floor — concrete surfaces support algae growth more readily than non-porous surfaces, and brushing disrupts algae before it establishes
- Check skimmer baskets and pump basket
- Backwash filter as needed
Why brushing matters in concrete pools: Unlike fibreglass, concrete is porous. Algae spores find purchase in the surface texture and, if left unbrushed, establish colonies that are difficult to remove without acid washing. Weekly brushing is not optional maintenance — it’s the main thing that keeps a concrete pool clean between chemical treatments.
Water chemistry is more demanding: Concrete pools require careful calcium hardness management — too low and the water pulls calcium from the plaster (etching the surface); too high and scale deposits form. The target range for calcium hardness in a plaster pool is typically 200–400 ppm. Test monthly and adjust.
Resurfacing timeline: Interior finishes have a finite life. Plaster typically needs resurfacing every 7–12 years. Quartz aggregate holds up 12–18 years. Pebble finishes can last 15–25 years. Tile interiors essentially don’t need resurfacing unless grout deteriorates or individual tiles crack. Budget for resurfacing as a known future cost when evaluating the total cost of ownership of a concrete pool.
Permits
Permits for Concrete Pools in Toronto
Same permit process as all other inground pools — the City of Toronto does not require a building permit for the pool structure itself, but two applications are required before the pool can be built or filled:
Zoning Certificate — confirms setback compliance from property lines, the house, and easements. Must be obtained first.
Pool Fence Enclosure Permit — required under Municipal Code Chapter 447. Pool cannot be filled until a compliant fence is installed and inspected.
For large or structurally complex concrete pools, the City may request engineering drawings as part of the application review. Easy Pools co-ordinates this where required.
Permit timeline: 4–10 weeks. Given that a concrete pool project runs 3–6 months on site, permit timing is rarely the constraint on the critical path — but applications should still go in as early as possible to avoid adding delay at the front end.
FAQ
Concrete Pool Installation FAQs
How much does concrete pool installation cost?
Concrete pool installation cost depends on pool size, shape, depth, excavation, access, steel work, concrete work, finishes, equipment, permits, decking, coping, and added features.
A simple concrete pool will usually cost less than a large custom pool with raised walls, attached spa, premium tile, water features, and full backyard finishing. The best way to get an accurate price is to request a site-based quote.
How long does concrete pool installation take?
Concrete pool installation usually takes longer than many other pool types because the pool is built on site.
The timeline depends on design complexity, permits, weather, excavation, steel work, concrete placement, waterproofing, finishes, equipment setup, decking, and landscaping.
Are concrete pools good for custom backyards?
Yes. Concrete pools are one of the best choices for custom backyards.
They can be built in many shapes, sizes, and depths. They can also include custom steps, benches, tanning ledges, raised walls, attached spas, water features, and premium finishes.
Do concrete pools need permits?
Yes. Concrete pool projects in Toronto need permit and enclosure planning.
Zoning, fence rules, gate details, setbacks, and site layout can all affect approval. Current local requirements should be checked before installation starts.
What finishes are available for concrete pools?
Concrete pools can be finished with plaster, pebble, tile, or mixed finish options.
Each finish affects the look, feel, cost, and care needs of the pool. Easy Pools can help you compare options based on your design and budget.
How long does a concrete pool last?
A concrete pool can last for many years when it is built and maintained well.
Long-term performance depends on the structure, finish, water care, drainage, equipment, and regular maintenance. Surface refinishing may be needed over time.
Service Area
Service Areas
Easy Pools installs concrete pools across Toronto and the GTA:
Request a Concrete Pool Quote
Concrete pool projects start with a site visit and a design conversation — dimensions, depth, finishes, and features all need to be established before a meaningful quote can be prepared. We’ll visit the property, assess the site, and give you a clear, itemised quote covering every phase of the build.
Easy Pools · Vaughan, ON · Serving Toronto and the GTA